How to make Christmas Candy Box Party Favors

Christmas Candy Box party favors are a great gift, and it’s a fun tutorial idea for any holiday party. Read below to find out how you can make your own. These are great for co-workers, neighbors, teachers, or virtually anyone.
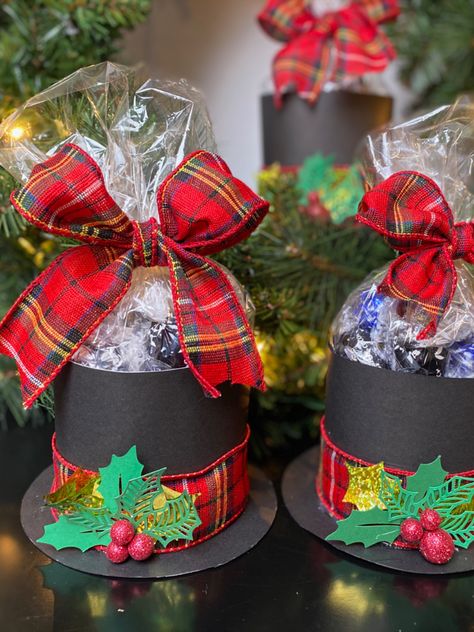
By filling this with candy, jewelry, or other small gifts, you’re providing the perfect gift for someone you care about.


To make this, you need the following:
• Candy Box Punch Board
• Label Paper Punch
• White and green cardstock
• Paper Trimmer
• Scoring Board
• Gold glitter paper
• Red Stamp Pad
• Christmas stamp of choice.
• Red ribbon
• Foam Dots
• Adhesive


The first thing that you do is cut the cardstock into a 7×6 in. rectangle. You can use the candy box board to use as a guide in order to make sure you punch the paper directly. From there, punch it, and score the lines on the box, using the adhesive to adhere it together.
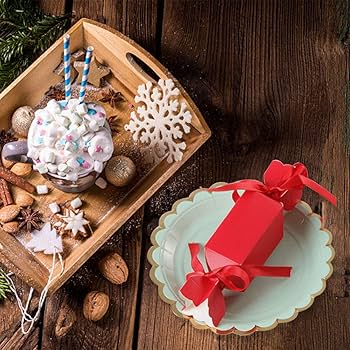
You will want to fold it over partially, run the adhesive on top, and then fold it onto the other side. Continue till you make a box.

To make the flat belly part, you want to cut a strip of glitter paper into a rectangle, about 2.25×7 inches. You want to score it at a half an inch, 2 ¼ inch, 3 ¾ inch, and 5 1/3 inch marks. You can do this with the glitter side down to see the marks. You then want to fold it along the score lines by matching the folds with the edges, and from there, wrap it around and secure with the adhesive.


For the label, you want to use a Christmas stamp, stamp it into the cardstock and then cut it out with a hole punch.
You can give the box dimension by adhering the box with foam stickers, and if it doesn’t want to stick, put liquid glue on the bottom of the foam for more power.


From here, fill it with some mixed chocolate or other gifts, and then tie it with a ribbon. you’re then done, and can give the candy box away!


This is the perfect holiday gift for someone, and if you’re looking for an amazing wholeSale candy packaging idea, then look no further!
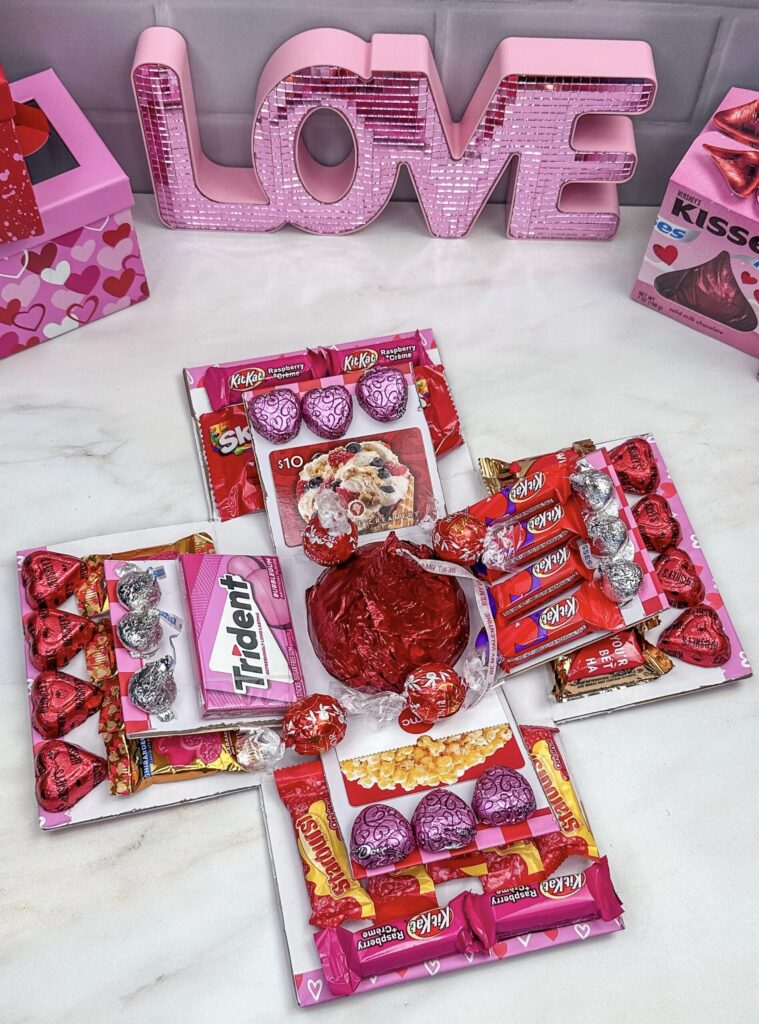
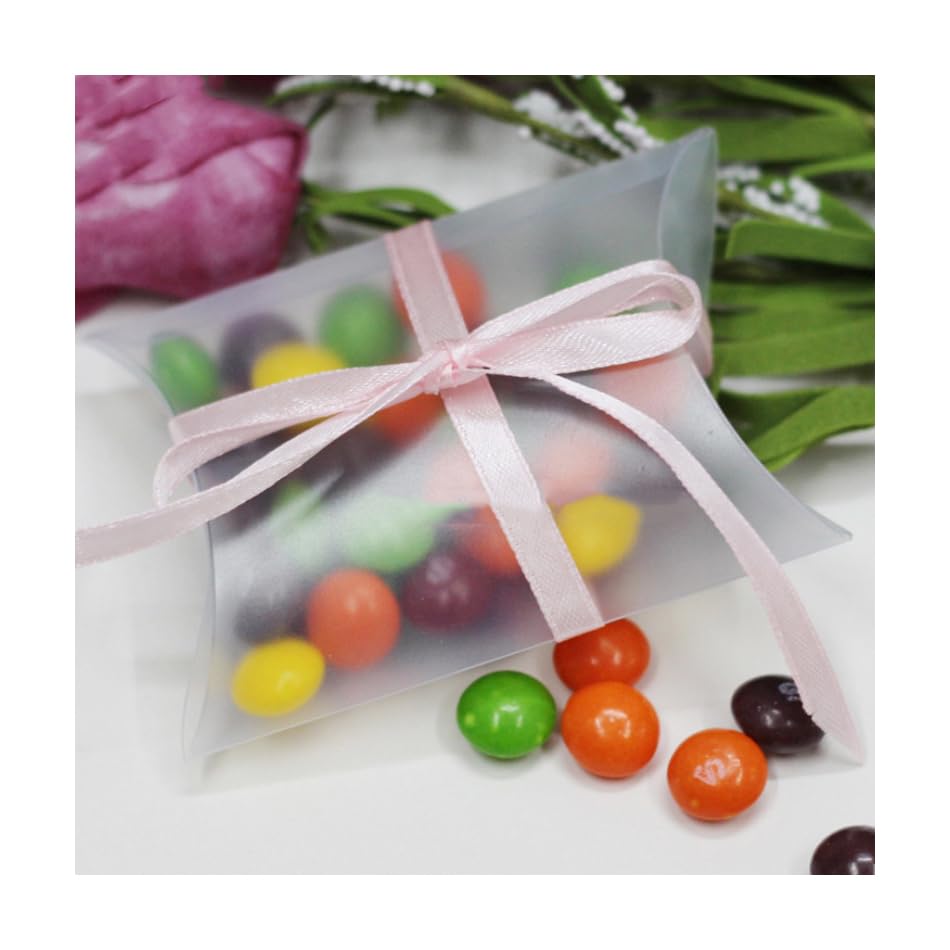
Homemade Assorted Candy Boxes for All Occasions

I was going to start out by saying that Valentine’s Day is right around the corner, which would probably confuse a good bit of you because it’s actually not.  You would probably be like, “Wait, where did Thanksgiving go?” or “Did I sleep through Christmas?”  I just got a little excited because I love putting candy boxes together, and Valentine’s Day is the most obvious time to do so.

However, Valentine’s Day is going to come early this year and I’m going to make my candy boxes for Christmas!  Before you write me off as being a little too confused about my timelines and priorities, check out my step-by-step tutorial for making seasonal, assorted candy boxes to give as gifts (for any occasion!):

  • As far as the actual boxes go, you can wrap an old candy box in nice paper, or buy smaller ones from your local craft store, like Michael’s. If you want a size that you can’t find, don’t get discouraged, because you can make it!  My favorite kind is the lingerie size gift box because it’s super shallow but big enough.  Carefully separate the corners and wrap each piece in a wrapping paper of your choice.  Try using different kinds of complimentary paper for the top and the bottom, or a solid for the top and design for the bottom, or vice versa.  Carefully and tightly reseal the corners.
  • Then, you make your homemade candies! Making your own candy is the whole point of these assorted candy boxes.  You can’t just go to the grocery store and by bite-size chocolates and pretend like they are the real deal.  Making your own candy is where it’s at, and there are plenty of recipes on the internet for different kinds.  I recommend doing at least a dozen kinds, but preferably one for each candy wrapper (yes, I know that is two dozen).

  • After you have made all your candy you can make your template, because you can’t have all that amazing candy and no candy template! There are circle templates you can find online, or you can use a simple word document to make your own.  Fill in each circle for the respective candy.
  • Give the gift and reap the love and praise for all your hard work!

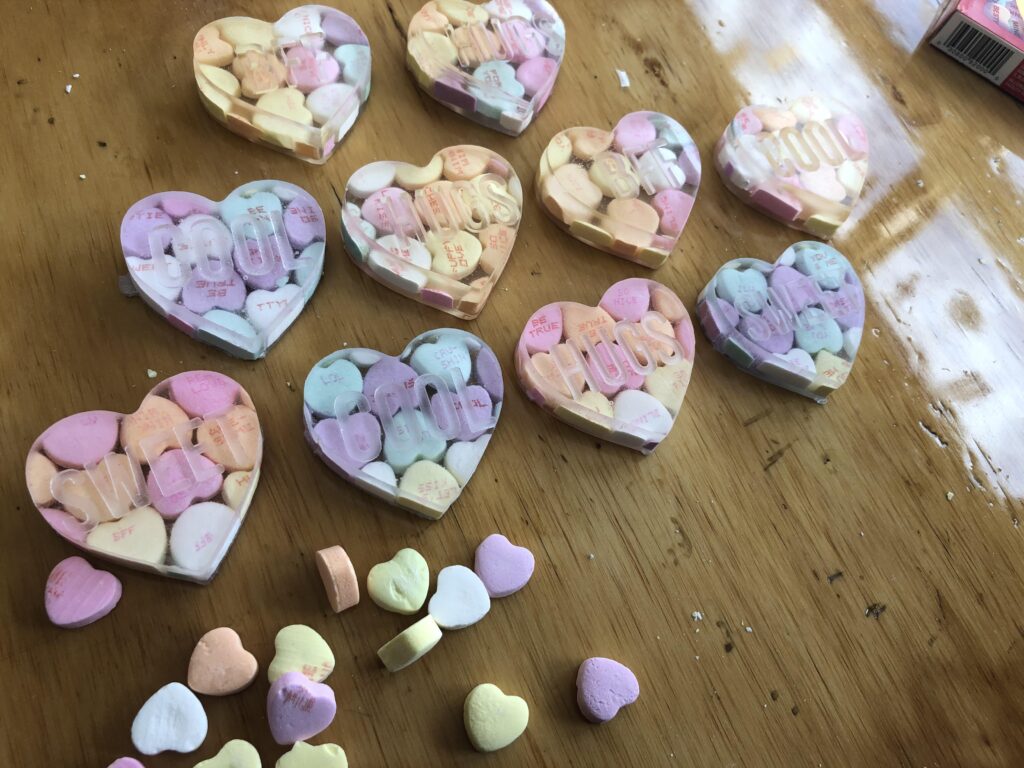
Homemade, DIY, Serious-Business Candy Hearts

Before we know it, Valentine’s Day will be upon us.  And what’s the one thing we all love about Valentine’s Day?  The candy!  Oh, wait, definitely our loved ones, too, of course.  That’s obvious!  But we wouldn’t have the candy without our loved ones, so yeah.

Anyway, without further judgment, here is one awesome idea for making some super adorable candy boxes for someone that you care about:

INTRO- The thing is that you can actually make your own candy boxes.  Not just what goes into the candy boxes, but the actual boxes.  What do I mean?  Well, I’ll tell you.  Martha Stewart, for one, wants so badly for you to succeed at this that she actually has templates on her website that you can print out.

SUPPLIES- To make Marthat Stewart’s Valentine’s candy boxes you are going to need to print out the templates (so a printer and some printer ink, for sure), a pencil for tracing, some mat board to trace on, and a craft knife to cut with.  If you are like me and you A) have no idea what a craft knife is, or B) would never trust yourself to use a craft knife, you could just settle for some good old-fashioned scissors.  And a marker.  And colored paper, spray adhesive, and glue.

STEP ONE- Print out the template (one large heart and two smaller hearts).  Trace the larger heart on the mat board two times and cut them out.  Use the marker to color along the edges of the new, cut-out hearts.  Spray with the spray adhesive and attach the colored paper.  Cut along the edges.  Do the same thing to the other sides.

STEP TWO- Trace the medium-sized template onto one of the larger heart cut-outs, and the trace the smallest heart template onto the other one.  Cut the box edges according to the template.  Color all of the exposed edges.

STEP THREE- Use the spray adhesive to cover all of the strips with colored paper.  Squeeze glue along the guidelines that you have traced out and bend the appropriate edge strips along the glue.  Let it dry.  Fill with candy and close.

TIPS- You are going to make two of the large hearts, one of the medium, and one of the small.  The medium and small cutouts are actually going to be the lids because the edge strips are going to form the actual hearts.  Choose a nice, demure pink, like coral or salmon, and then super bright candies.  Use this opportunity to get some gourmet candies!  Don’t just dump some sour gummy worms in and call it a day.


The Art of Stuffing Stockings

Growing up, I always looked forward to “opening” my stocking almost as much as getting into my gifts. Most of that excitement to dig into my stocking comes from how my mom would prepare the stockings. Another reason? We would take our time. A lot of times I’ve seen other families rip through stockings all at once, and the experience was over in mere minutes. Our family wasn’t quite the same: we would take turns and spend about 10 to 15 minutes a piece on each stocking, making the experience really last before we got into our gifts.

First and foremost, I learned that mothers are absolute experts at packing things tightly. No matter how hard I tried, I could never get everything back into my stocking that was in there to begin with. That was the true magic of the stocking in my eyes.

But another factor of what made stockings so fun was that I would always have other “bigger” stocking stuffers laid outside the stocking beside it. These were items that just wouldn’t fit or would be too awkward to place inside the stocking. Stockings weren’t just full of little candies and fruits and toothbrushes. They were thoughtful, unique to each person in the family, and a major part of our gift giving experience. I recall colognes, beef jerky, CDs, gift cards, unique socks, belts, tie bars, and more that came in my stocking. It was a unique experience.

With that all said, there’s one thing that would’ve granted immediate satisfaction had it been laid out beside my stocking: candy boxes.

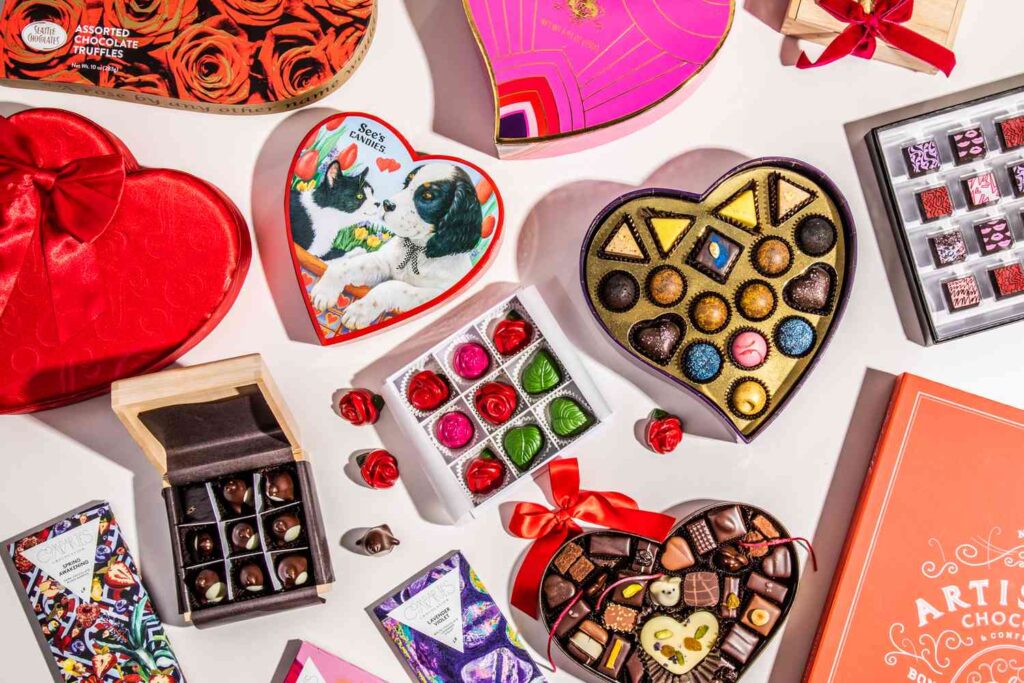
I never was a huge candy person growing up, but I enjoyed the different artisan chocolates that came within bigger boxes of candy. I think that these make a great addition to a stocking, though one that would need to be present outside of the stocking because of their size.

And really, what kids don’t enjoy candy? Even though I didn’t have a big sweet tooth when I was a kid, I still loved having candy from time to time. Setting up candy boxes (and a few other small items on top of it!) alongside your kids’ stockings shows your little ones there’s a little something to enjoy while they actually get into the contents of their stockings.

Even if you’re strict with the amount of sugar your kids have, the holidays are the perfect time to let them have a little extra with candies and sweets.

Repurposing Boxes of Chocolates

Once you’ve eaten the chocolates in a box of chocolates, you probably think of the box as trash. And while that’s not faulty thinking, there’s something unique about candy boxes that make them more than trash: their small compartments in the tray.
I don’t know about you, but I can think of a major use for these trays in the box that you could turn into a fun and small project. The tray’s use? Jewelry.


Think about it. With 15+ sectioned off compartments, you could put anything from rings to necklaces to earrings in each.

Step 1: Take the tray out of the box.
While the tray itself is very useful and the center point of this project, you won’t want to be putting your jewelry in an actual box of candy. Rather, you’ll want to put the tray in something else homemade that you can call your own.

Step 2: Spray paint the tray the color of your choice.
Most of these trays are white when you purchase candy boxes. For the most part, that’s not a color that will make your jewelry look great or offset their multiple hues. Instead, think about spray painting the tray a matte black, purple, or even turquoise. These are all colors that set off the luster of precious metals and make gems shine brighter.

Step 3: Find or make a small wooden box to fit the tray.
Here’s where a little bit of actual work may need to be done. You’ll want to measure the dimensions of the candy tray to make sure it fits in whatever box you choose or make, but putting together a small jewelry box will allow you to really claim it as your own. You can paint it, write on it, or anything else you think of to personalize it.

Step 4: Categorize your jewelry!
Whether you place earrings near each other or scatter your assortment of jewelry out in the different compartments, do it in a way that each piece has its own snug place to sit. This also helps you to keep everything in order and easily located for when you go to put something on.

Though this project may take a bit of work on your end (especially the box itself), it’s one that is easy to do and quite unique. Jewelry boxes can cost a pretty penny, but you won’t have to spend more than 15 or 20 bucks on a project like this. Besides, shouldn’t you be saving the bigger bucks for adding to that collection of jewelry?